Camera Obscura is the natural optical phenomenon that occurs when an image of a scene at the other side of a screen is projected through a small hole in that screen as a reversed and inverted image on a surface opposite to the opening. The steps for creating the pinhole were:
1. paint an altoid container black
2. cut a hole in the cover of the tin
3. cut a small square of a coke can that will cover the hole in the cover
4. use a small needle to make a hole in the coke can
5. use black electrical tape to keep the coke can in place in the container
6. place the light sensitive paper in the camera with the electrical tape over the hole
7. tape around the box to make a light tight box
8. cut a small piece of black electric tape to work as the shutter for the pinhole,
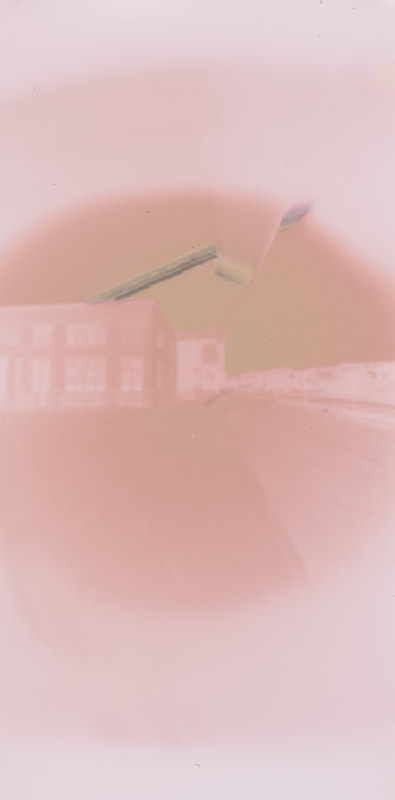
The tape was the shutter of the camera. The focal length was 21.28 mm. I placed my pinhole on the sign in front of the school, right near the arches. The pinhole was exposed their for 5 days. The sun was the light source for the exposure. The image didn't come out as I thought it would. The steps to scanning the pinhole were:
1. We scanned out pinhole in the scanner.
2.I emailed my scanned finale to myself and opened it on photoshop on my computer.
3.I selected image and went to image rotation and flipped it horizontal.
4.I went to image, adjustments and inverted the image.
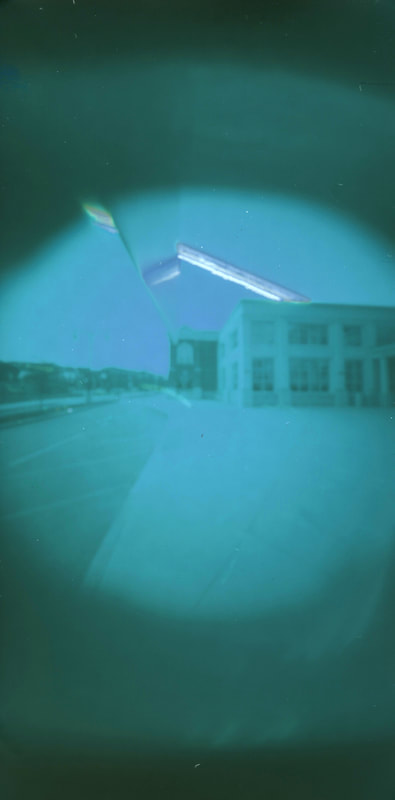
5.I adjusted the hue and saturation.
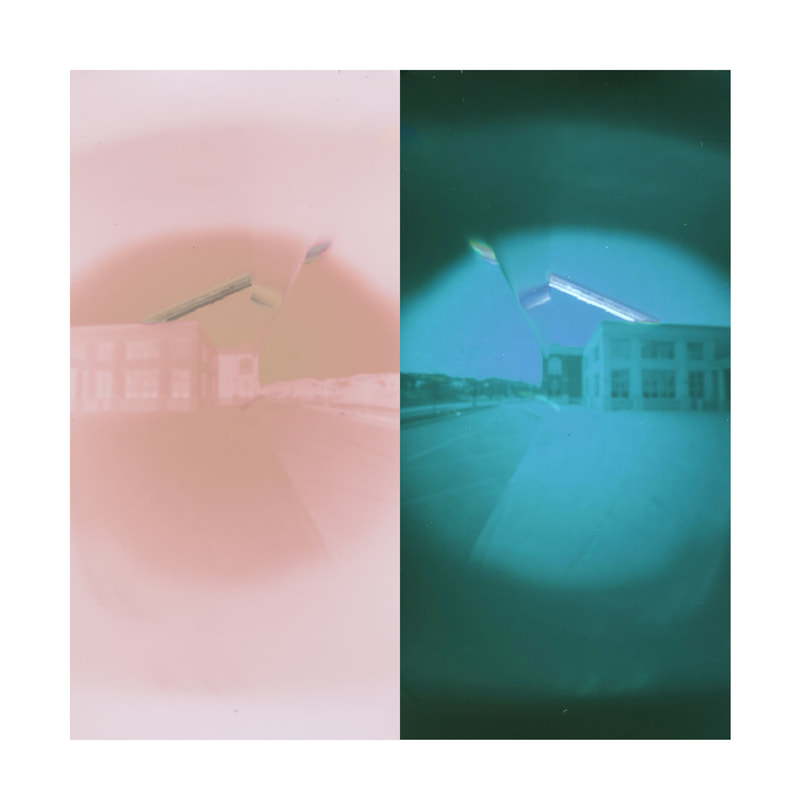
I was surprised with my results because I thought that my pinhole would have been a lot closure to what I was capturing. Also there was a random line going through my composition which was actually capturing the light. In the future I would put my pinhole closure to what I was capturing.
1. paint an altoid container black
2. cut a hole in the cover of the tin
3. cut a small square of a coke can that will cover the hole in the cover
4. use a small needle to make a hole in the coke can
5. use black electrical tape to keep the coke can in place in the container
6. place the light sensitive paper in the camera with the electrical tape over the hole
7. tape around the box to make a light tight box
8. cut a small piece of black electric tape to work as the shutter for the pinhole,
The tape was the shutter of the camera. The focal length was 21.28 mm. I placed my pinhole on the sign in front of the school, right near the arches. The pinhole was exposed their for 5 days. The sun was the light source for the exposure. The image didn't come out as I thought it would. The steps to scanning the pinhole were:
1. We scanned out pinhole in the scanner.
2.I emailed my scanned finale to myself and opened it on photoshop on my computer.
3.I selected image and went to image rotation and flipped it horizontal.
4.I went to image, adjustments and inverted the image.
5.I adjusted the hue and saturation.
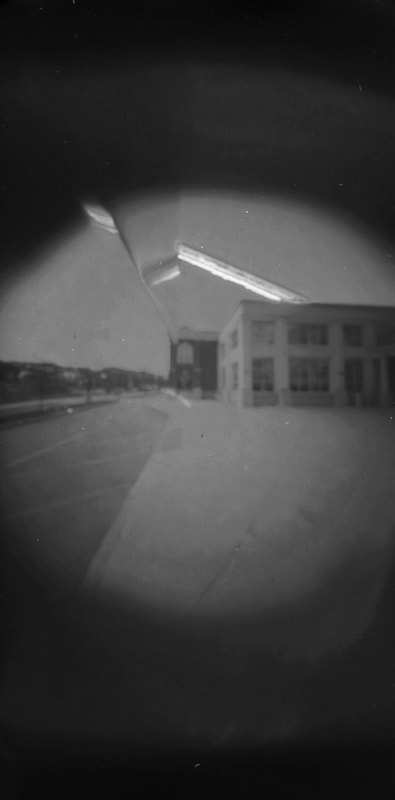
I was surprised with my results because I thought that my pinhole would have been a lot closure to what I was capturing. Also there was a random line going through my composition which was actually capturing the light. In the future I would put my pinhole closure to what I was capturing.
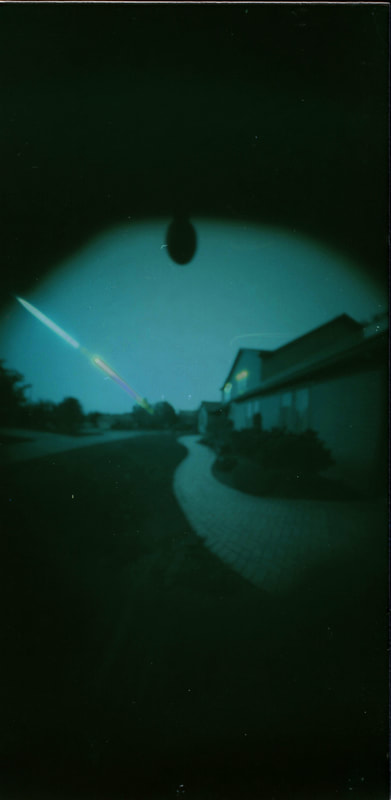
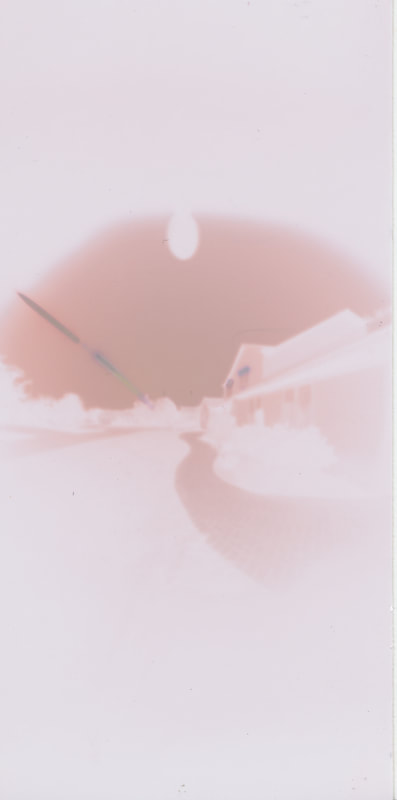
I place my pinhole on the light post at the start of my walkway at my house. The camera was out for a 3 day exposure. In the front of my house it gets a lot of exposure to light so the camera got a lot of exposure to light. Their was no extreme weather that it was exposed to. I made sure the my camera was closer to what I wanted to capture in the second pinhole. My out of school image was much more clear than my in school image. Also my in school image appeared much farther than the out of school image. The second image result was much better, it was more clear and was in a perfect distance from the house.
